I've discusses my sister-in-law quite a bit, and she's pretty much the best sister-in-law of all time. Sorry everybody else, my sisters' and I won the jackpot in the "Who Is My Only Brother Going To Marry, Please Just Let Me At Least Like Her A Little Bit Jackpot". She's one of my best friends, and she's totally down for food like the rest of us. It's so fun to share with her our favorites, and trying some of her family favorites as well. Remember the Oatmeal Cake? I do, because it's the dreamiest (...aaaand now I'm craving it, this is trouble...). Anyway, I've spoken to my sisters about each of them doing a guest post for me, since they've all got mad skills(z) and so many great recipes to share. When I was visiting in November, 2.0 made this sourdough bread that she's spent a while perfecting. It is NO JOKE. Sooooo good. I asked her to share it with us, but she said she had a few more tweaks to make, so she recently fulfilled her promise to me, and below is her post to share with us. So, without further ado, I'd like to introduce Caroline 2.0...
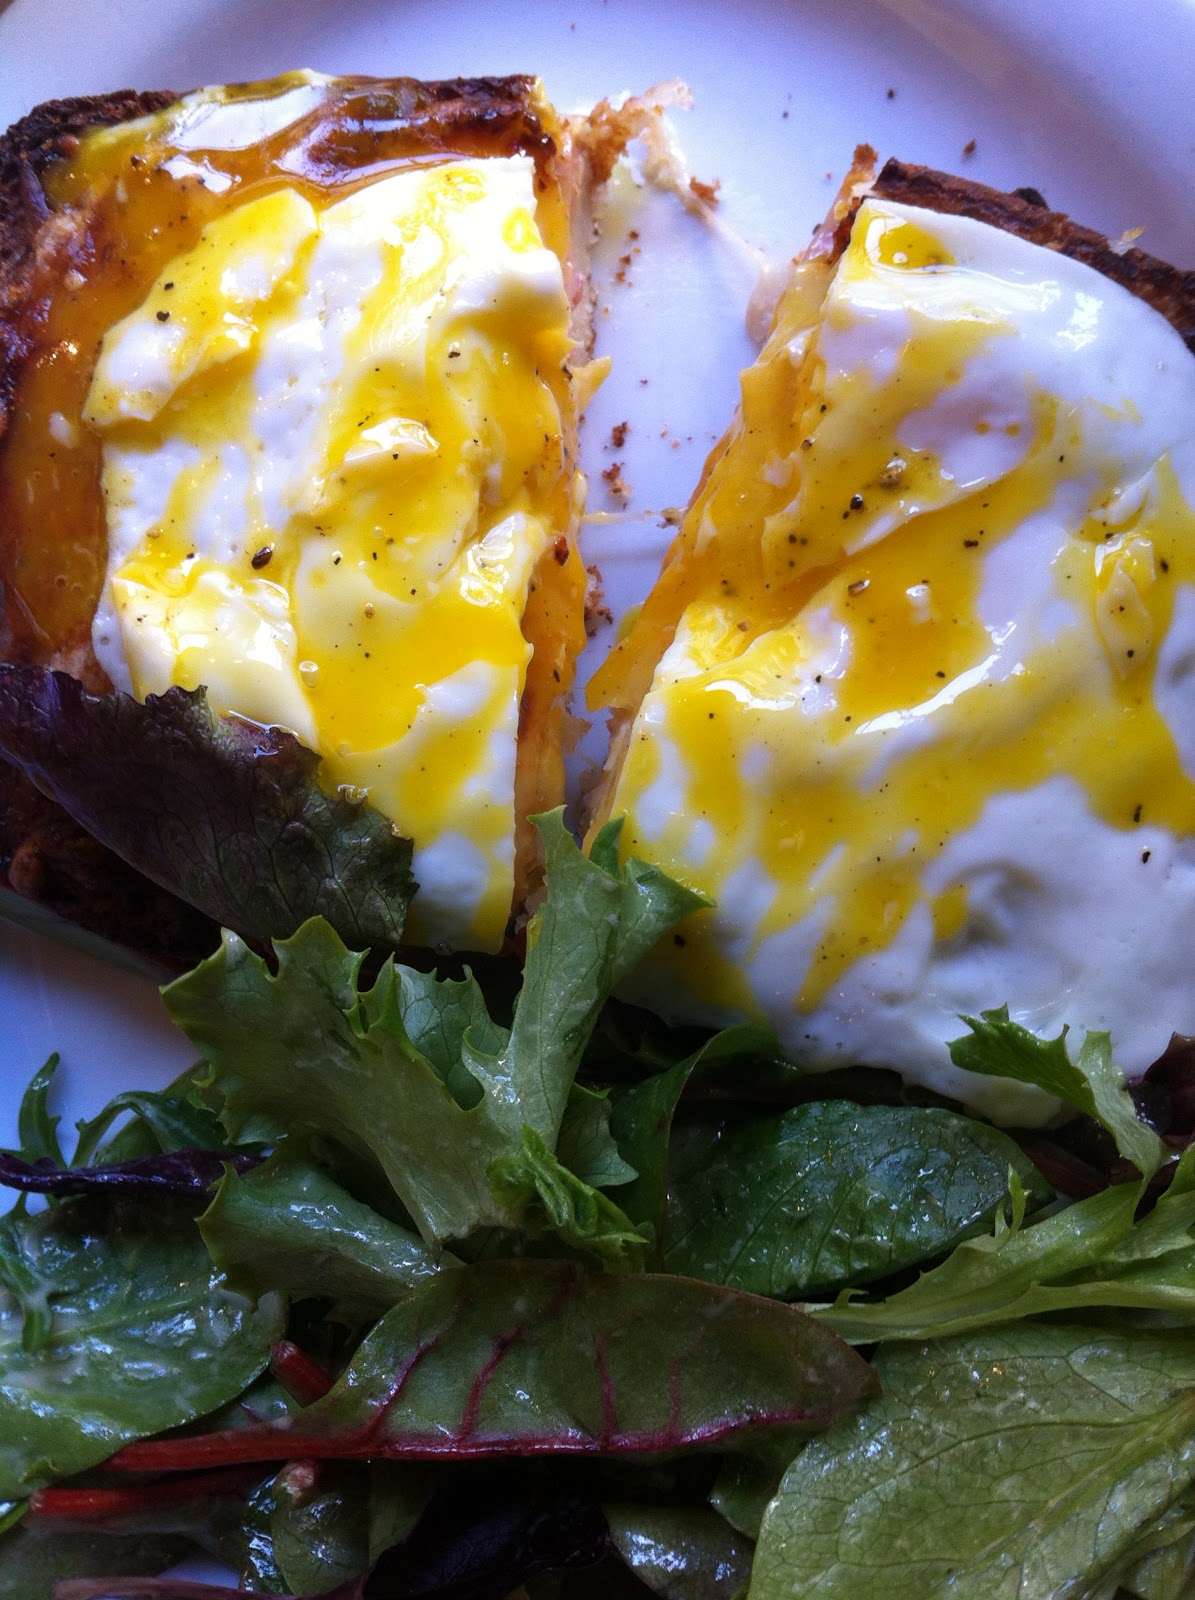
I would look so different if I didn't love bread as much as I do. There is something almost spiritual for me in eating the perfect artisan bread, the chewy crumb, the contrast between the crust and the melty insides, the way your jaw tells you about it if you eat too much. I'm talking about bread that has the gal and personality to make it's own shape and not rely on a bread pan to keep it corralled. I grew up right up the street from a little market that had incredible, made that day, Italian and French breads that were central to most of my meals. I also had a Father who was the proud bread-maker of our family. He loved the feeling of his hands in the dough and it was common to find crusty little remnants on his wrists or under his nails. Okay, I'll stop it with all my bread pedigree, all you need to know is that this recipe comes to you from someone who really truly loves bread and it's taken me lots of tries to get it to this wonderful place. Also note that you might need to mess with this recipe a little. I've found that often a bread recipe needs to adjusted because of humidity, flour you're using, your particular oven, the yeast you have etc. There are a lot of variable factors, so try this then make whatever tweaks are necessary to make it magical for you.
Caroline (2.0)'s Sourdough Bread:
Ingredients:
Dutch Oven or something you can put in the oven with a heavy lid on it. This is what I use, but if you have another version that's fine too - you need to trap the moisture in with the bread. Also, you need to replace the plastic lid handle with a metal one - I got one at home depot- it was pretty easy - if need be, just take the handle out and be really careful with the lid.
2 cups water (warm to 110)
2 tsp yeast (no rapid rise, and don't use more, less would be better)
1 cup sourdough start (I used a heaping cup, this can vary a little too)
2 TBS sugar
1 heaping TBS salt
6 cups flour (this one will vary for sure - it's a feel thing, but around 6)
(2.0's sourdough start—do not throw away)
1. Put the water into a large bowl with the yeast. Let the yeast dissolve, about 3-5 minutes and add to this your sourdough start, sugar and salt - stir with a wooden spoon to dissolve.

2. Add flour only a cup at a time - I insist on this - it's the only way to get to the right texture, if you add to much and try to put water in it's a mess. Just go one cup at at time, stirring with spoon, until it's not possible to stir with a spoon and then take off your rings and get your hands in there. Keep adding flour a cup at at time until the dough is starting to come together in one lump. You will need to do some kneading, and as you knead your bread will get wetter. Of course you'll need to add more flour as you knead in small amounts so you can handle the dough, but don't add to much. Put flour on your hands and although many say to knead on a floured surface, I think it's okay to knead in the bowl, then you pick up all your scraps. Just make sure your dough is still a little wet, so it's sticky but not completely stuck to you as you knead. You should knead about 8-10 minutes until it's smooth and elastic with a little sticky to the touch.

3. I usually pull my ball of bread dough out, put it on plastic wrap and scrape around my big bowl with a spatula getting the flotsom and jetsom out then I spray that same bowl, plop my dough back in and turn it around once so it has some oil on top. Make sure to cover the top with plastic wrap.
4. Let this rise overnight or 6-8 hours then pat it down, and give it a good knead - like 5 minutes of just working out the air and getting it back into a smaller ball - you might need to put it on a floured surface for this part - and coat your hands with flour to make it manageable.
5. Spray your bowl again, put the dough back in, flip it and put plastic on top again. Let this one rise a good 4 hours or so until it's doubled in size. The two rises are what give this bread such a nice sourdough flavor. While this is rising spray down your dutch over with lid - it's the only way to make this bread work.
6. When your bread dough has doubled, push it down and knead it out a little, not as much as before and shape it into two loaves. You can do this in one big loaf but I find two a lot more manageable. The way I put these in my dutch oven is by separating them down the middle with aluminum foil - which I also spray. You can put down a little cornmeal on bottom if you wish. Put these two oval loaves into your dutch oven.
7. Put plastic over the top of the dutch oven and let the bread rise about 2 hours or less - until the loaves look nice and raised. Pre-heat oven to 450 during this time.
8. Take off the plastic, put on the lid and put your bread in the oven for about 40 minutes.
9. After 40 minutes take off the lid- your bread should be starting to get light brown and look shiny. Keep the lid off - reduce heat to 375 and bake another 10 + minutes until it's nice and brown and when you check the center by checking halfway down the foil it doesn't look doughy - it needs to give you a little push back when you press in that center area between the two loaves.
10. Immediately take bread out of dutch oven and cool on wire racks.