Sunday, March 25, 2012

dinner rolls with rosemary and flaked fluer de sel

(Sorry this photo is so crappy, but it's hard to take pics when you are busy and stressed while making food for 30 people!)

I made these rolls for another dinner I worked on with my awesome chef friend, Tom Call. He asked me to come up with some yummy and buttery dinner rolls. I went to my Go-To Baking Mentor (my mom) and asked what she would recommend trying. She suggested this recipe from Sarabeth's Bakery cookbook. I'm so glad she did! It looks like a lot of instruction, but it's pretty simple to put together. Plus, I added the rosemary and fluer de sel to try to make them a little more special. I'm pretty happy with how they turned out. For the dinner, we made these more of a "tasting size" in little mini muffin tins instead of making them in the two pans like in the recipe below. If you make them that way, I would suggest using a scale and weighing the dough. Each mini roll weighed about 30 grams.

Dinner Rolls with Rosemary and Flaked Fluer de Sel (adapted from Sarabeth's Bakery: From My Hands to Yours)

3 1/2 teaspoons active dry yeast
2 tablespoons granulated sugar
1 cup whole milk, divided
1 large egg, plus 1 large egg yolk
3 1/4 cups all-purpose flour, as needed
1 teaspoon fine sea salt
12 tablespoons unsalted butter, cut into tablespoons, well softened
4 teaspoons finely chopped rosemary, divided
1-2 tablespoons flaked fluer de sel

Sprinkle yeast over 1/4 cup, 105° to 115°F, milk in a small bowl. Let stand until the yeast softens, about 5 minutes, then stir well to dissolve. Pour into the mixing bowl. Add 3/4 cup cold milk, the sugar, egg, and yolk, whisk to combine.

Attach the bowl to the mixer and fit with the paddle attachment. Mix on low speed, adding 2 cups of the flour and the salt. One tablespoon at a time, beat in the butter, letting each addition become absorbed before adding another. Add another cup of the flour and 2 teaspoons of the chopped rosemary to make a soft dough that cleans the sides of the bowl.

Using a silicone spatula, scrape the dough into the center of the bowl. Replace the paddle attachment with the dough hook. Knead on medium-low speed until the dough is supple, about 4 minutes. One tablespoon at a time, add as much of the remaining flour as needed for the dough to become smooth.

Generously butter a medium bowl. Turn the dough out onto a lightly floured work surface. Shape the dough into a ball. Place the ball, smooth side down, in the bowl, and turn right side up to lightly coat the ball in butter. Cover the bowl with plastic wrap and let stand in a warm place until doubled, about 1 1/2 hours.

Lightly butter two 9-inch round cake pans. Cut the dough into 18 equal portions (if you have a kitchen scale, each portion will weigh 2 ounces.) To shape into balls, one portion at a time, place the dough on an unfloured work surface. Cup one hand over the dough and move your hand in a tight circular motion, letting your palm gently touch the top of the dough. For each pan, arrange 7 balls inside the perimeter of the pan, with 2 balls in the center, spacing the balls equally apart. There will be space between the balls until they proof. Choose a warm spot in the kitchen for the proofing. Cover with a tea towel. Let stand until the rolls look puffy, about 45 minutes.

Position a rack in the center of the oven and preheat to 350°F. Remove the tea towel and spray rolls with water, sprinkle with the last two teaspoons of fresh rosemary and lightly sprinkle with flaked fluer de sel. Bake unti the rolls are golden brown, about 20 minutes. Let cool in the pans for 5 minutes. Remove from the pans, then separate the rolls from each other and serve hot.

NOTE: If you need to re-heat the rolls, generously sprinkle them with water and put them in a 350°F oven for about 5-10 minutes. Just keep a razor sharp eye on them so that they don't get too golden and dry out.


Tuesday, March 20, 2012

re-post: wheat germ chocolate chip cookies


I realize I've done a few re-posts lately, and I hope that's not harshing on anyone's gig (I know that's a ridiculous phrase, however, someone said it to my friend once, and I thought it was amazing and therefore immediately added it to my vocabulary). I just like to refer to my favorites now and then, and think they deserve a double spotlight for their ability to stand the test of time. I originally posted this recipe without a picture so I added that, and I wanted to re-write some of the instructions, exactly as I make them, instead of showing what the original recipe was and how I changed it. I had changed it so much that when I'd refer back, I would occasionally miss a step. So here it is, exactly how I make them. These are pretty healthy for a cookie and definitely one of my all time favorite and most requested cookies. 

3/4 cup old fashioned whole rolled oats
3/4 cup whole-wheat flour
1/4 cup almond meal
1/2 cup ground flax seeds
1/2 cup raw wheat germ
1/2 cup sweetened coconut flakes (chopped finely)
1/2 teaspoon baking soda
1/2 teaspoon salt
1 teaspoon cinnamon
1/2 cup butter, softened
1/3 cup granulated sugar
1/3 cup brown sugar
2 tablespoons honey
1 large egg
1 teaspoon vanilla extract
1 cup chocolate chips
1/2 cup chopped very finely chopped pecans

(Makes approximately 30 cookies)

Preheat oven to 400°. Grease cookie sheets or line with a Silpat.

Mix oats, flour and almond meal, in a medium bowl. Add baking soda, salt, cinnamon and whisk until mixed in. Whisk in wheat germ, flax, coconut and chopped pecans.

Beat butter in a large bowl with an electric mixer until fluffy. Add granulated sugar, brown sugar, honey, egg and vanilla; beat until smooth and creamy. Add the dry ingredients, beating on low speed until just combined. Stir in chocolate chips. Chill the dough in a refrigerator for at least 30 minutes. The dough should be semi-firm before proceeding with next step.

Use a cookie scoop to scoop out dough and arrange, at least 1 inch apart, onto the prepared baking sheets. Bake cookies, until firm around the edges and barely golden on top, about 9 minutes. Remove baking sheets from the oven immediately and cool the cookies for 2 minutes, then transfer to wire racks with a spatula to cool. 

NOTES: I think the cookies actually taste the best the next day. Also, the dough can be prepared in advance and kept in the refrigerator, tightly covered for up to a week. 

Wednesday, March 14, 2012

re-post: best ever sugar cookies


I first posted the recipe for these way back in 2007. They have been the standard, go-to sugar cookie for my family for a while now, and like I said before, the fluffiness and the hint of lemon really put this cookie over the top. They aren't the kind you roll out and cut into cute shapes, BUT they are the kind that you stuff in your mouth, with both hands. Repeatedly. So, I had to post again, just as a reminder to us all, that once a good recipe, always a good recipe.

Cream:
1 c. butter
2 c. sugar

Beat in:
4 eggs
2 T. milk
4 t. vanilla
1 T. lemon extract (this slight lemon flavor really sets these cookies apart. it's not enough that a citrus hater would be turned off)

Add:
4 t. baking powder
1/2 t. salt
5 cups flour

Chill 30 minutes to an hour. Form into balls then smash down with bottom of floured glass (about 1/4 inch thick, these cookies should be about the same thickness as those pink grandma sycamore's cookies and a little smaller in circumference). Bake at 375° for 6-8 minutes.

Frosting:
1/2 c. butter
1/4 c. shortening
1 t. vanilla
1/8 t. salt
4 c. powdered sugar
2-4 T. milk

(food coloring, as desired)

In large bowl, beat butter and shortening until light and fluffy. Add vanilla and salt. beat in powdered sugar, 1 cup at a time, scraping down sides of bowl. add 2 T. milk; beat at high speed until light and fluffy. Add enough additional milk for desired spreading consistency. **(This frosting may be made up to 2 weeks in advance and kept in and airtight container before serving. Bring to room temperature before serving)**

Tuesday, March 6, 2012

almond-maple granola clusters


I really love making and eating granola. I am a bit of a snacker, and I don't feel guilty when I eat granola—especially if it's homemade, hence the many posts of new granola recipes. I was looking for one that had the texture of those Nature Valley Crunchy Granola Bars, cause they are so great for an on-the-go snack, and I found this one from one of my favorite sites, Serious Eats. I like that it makes so much, and can keep for a long time, cause who doesn't love a time-saver? Also, the recipe is originally gluten-free, but I made this using wheat flour, and less salt than originally called for.

Almond-Maple Granola Clusters, adapted from Serious Eats
yield: makes about 7 cups of granola, active time 15 minutes, total time about one hour

Ingredients:
6 cups old-fashioned oats
1 cup almond flour
1/2 cup wheat flour
1/2 teaspoon kosher salt
1/2 cup canola oil
1 cup dark brown sugar
1/2 cup maple syrup (use the real stuff)
1 teaspoon vanilla extract

Preheat oven to 300 °F;. Line an 18 by 13-inch rimmed baking sheet with a slipat or parchment paper. Set pan aside. In large bowl, toss together oats, almond flour, wheat flour, and salt. Pour canola oil evenly over the mixture. Stir with a wooden spoon to coat mixture evenly with oil.

Combine maple syrup and dark brown sugar in a medium pot. Warm mixture over medium heat until the sugar dissolves, about six minutes. Gently stir the mixture frequently. Remove pot from the heat. Add vanilla extract. Stir to combine.

Pour sugar-mixture over oat-mixture. Stir with a wood spoon to combine. At first, the granola will be thick and sticky. Continue stirring, breaking up an lumps of sugar/oats with the back of the wooden spoon, until the sugar-maple is evenly distributed.

Press mixture very firmly into prepared pan. Bake until golden brown and aromatic, about 45 minutes. Remove pan from oven. Immediately score granola into bars. (The granola might break into smaller pieces when scored. This is fine.) Allow granola to cool. "Snap" bars into bite-size nuggets. Store granola in a covered container for up to two weeks.

**Note from Serious Eats author: The recipe makes a generous amount of granola. If you don't have an 18 by 13-inch baking pan, divide the granola between two 13 by 9-inch pans. Squeezing all the granola into one 13 by 9-inch pan causes the granola to bake unevenly and the finished granola isn't crisp.

Tuesday, February 28, 2012

buttermilk biscuits


I love cookbooks. I could collect all of them for days and I wouldn't have enough. Even it it's just to look at them. I have a huge wish list that is ever-growing. My mom got the Sarabeth's Bakery cookbook last Christmas from my dad, and I made no secret of my envy. Imagine my delight when I received it this year from my parents! It's so simple and clean and I want to make and eat everything in it. This biscuit recipe is the first recipe I've made from it, and oh my goodness, they were divine. Salty, buttery, light and flaky. In a word: Perfect. Next time you want/need a savory baked good, make this happen to your face and belly.

Adapted from Sarabeth's Bakery

3 1/4 cups unbleached all-purpose flour
2 tablespoons sugar
1 tablespoons plus 2 teaspoons baking powder
1/2 teaspoon fine sea salt
12 tablespoons (1 1/2 sticks) unsalted butter, chilled, cut into 1/2-inch cubes
1 1/2 cups buttermilk (I used 1 1/2 cups milk with 1 tablespoon lemon juice)

Position a rack in the center of the oven and preheat to 400°F. Line a half-sheet pan with parchment paper or a Silpat.

Sift the flour, sugar, baking powder, and salt together into the bowl of a heavy-duty stand mixer. Attach the bowl to the mixer and fit with the paddle attachment. Add the butter. Mix on low speed until the mixture resembles coarse meal with some pea-size pieces of butter. Add the buttermilk (or milk with lemon juice), mixing just until the dough barely comes together.

Scrape the dough onto a lightly floured surface and knead a few times until the dough is smooth. Sprinke the top of the dough with flour and roll our a little more than 3/4 inch thick. Using a biscuit cutter, dipping the cutter into flour between cuts, cut out the biscuits and place 1 inch apart on the pan. Gently press the scraps together (do not overhandle the dough—this is very important!). Repeat rolling and cutting.

Bake until the biscuits are well risen and golden brown, 18 to 20 minutes. Serve hot or warm. To reheat the biscuits, wrap them in aluminum foil and bake in a preheated 350°F oven for 10 minutes.


Tuesday, February 14, 2012

granola pie


My oldest sister had been telling me for a while that I needed to try this recipe for Granola Pie that 2.0 made for their family before. For some reason, I slept on it trying it. I guess the title Granola Pie doesn't quite indicate just how amazing this pie is. It's like Pecan Pie and Toll-House Pie had a gooey-mouthwatering pie baby. A pie baby that I want to adopt, then consume on the regular. It's an amazing comfort food dessert. Warm, rich, chocolatey, scrumptious. So, the next time you want people to have to pause after taking a bite, just to function, make this pie. Then work out a lot afterwards.

Adapted from Pillsbury

Ingredients:
1 Pie crust
1/2 cup butter
1/2 cup packed brown sugar
3/4 cup corn syrup
1/8 teaspoon salt
1 teaspoon vanilla
3 eggs, lightly beaten
4 Nature Valley® Oats 'n Honey crunchy granola bars (2 pouches from 8.9-oz. box), crushed (3/4 cup)*
1/4 cup rolled oats
1/4 cup semi-sweet chocolate chips

*To easily crush granola bars, do not unwrap. Use rolling pin to crush bars.

Directions:
Heat oven to 350°F. Place pie crust in 9-inch glass pie plate.

In large microwavable bowl, microwave butter on high 50 to 60 seconds or until melted. Stir in brown sugar and corn syrup until blended. Beat in salt, vanilla and eggs. Stir crushed granola bars, oats and chocolate chips into brown sugar mixture. Pour into crust-lined pan.

Bake 40 to 50 minutes or until filling is set and crust is golden brown. During last 15 to 20 minutes of baking, cover crust edge with strips of foil to prevent excessive browning. Cool at least 30 minutes before serving. Serve warm, at room temperature or chilled with whipped cream. (I added cinnamon to my whipped cream.) Cover and refrigerate any remaining pie.


**disclaimer, all my photos are taken with my phone, until I get a nicer camera, my pictures will be not that awesome. 

Tuesday, February 7, 2012

banana bread: re-visited


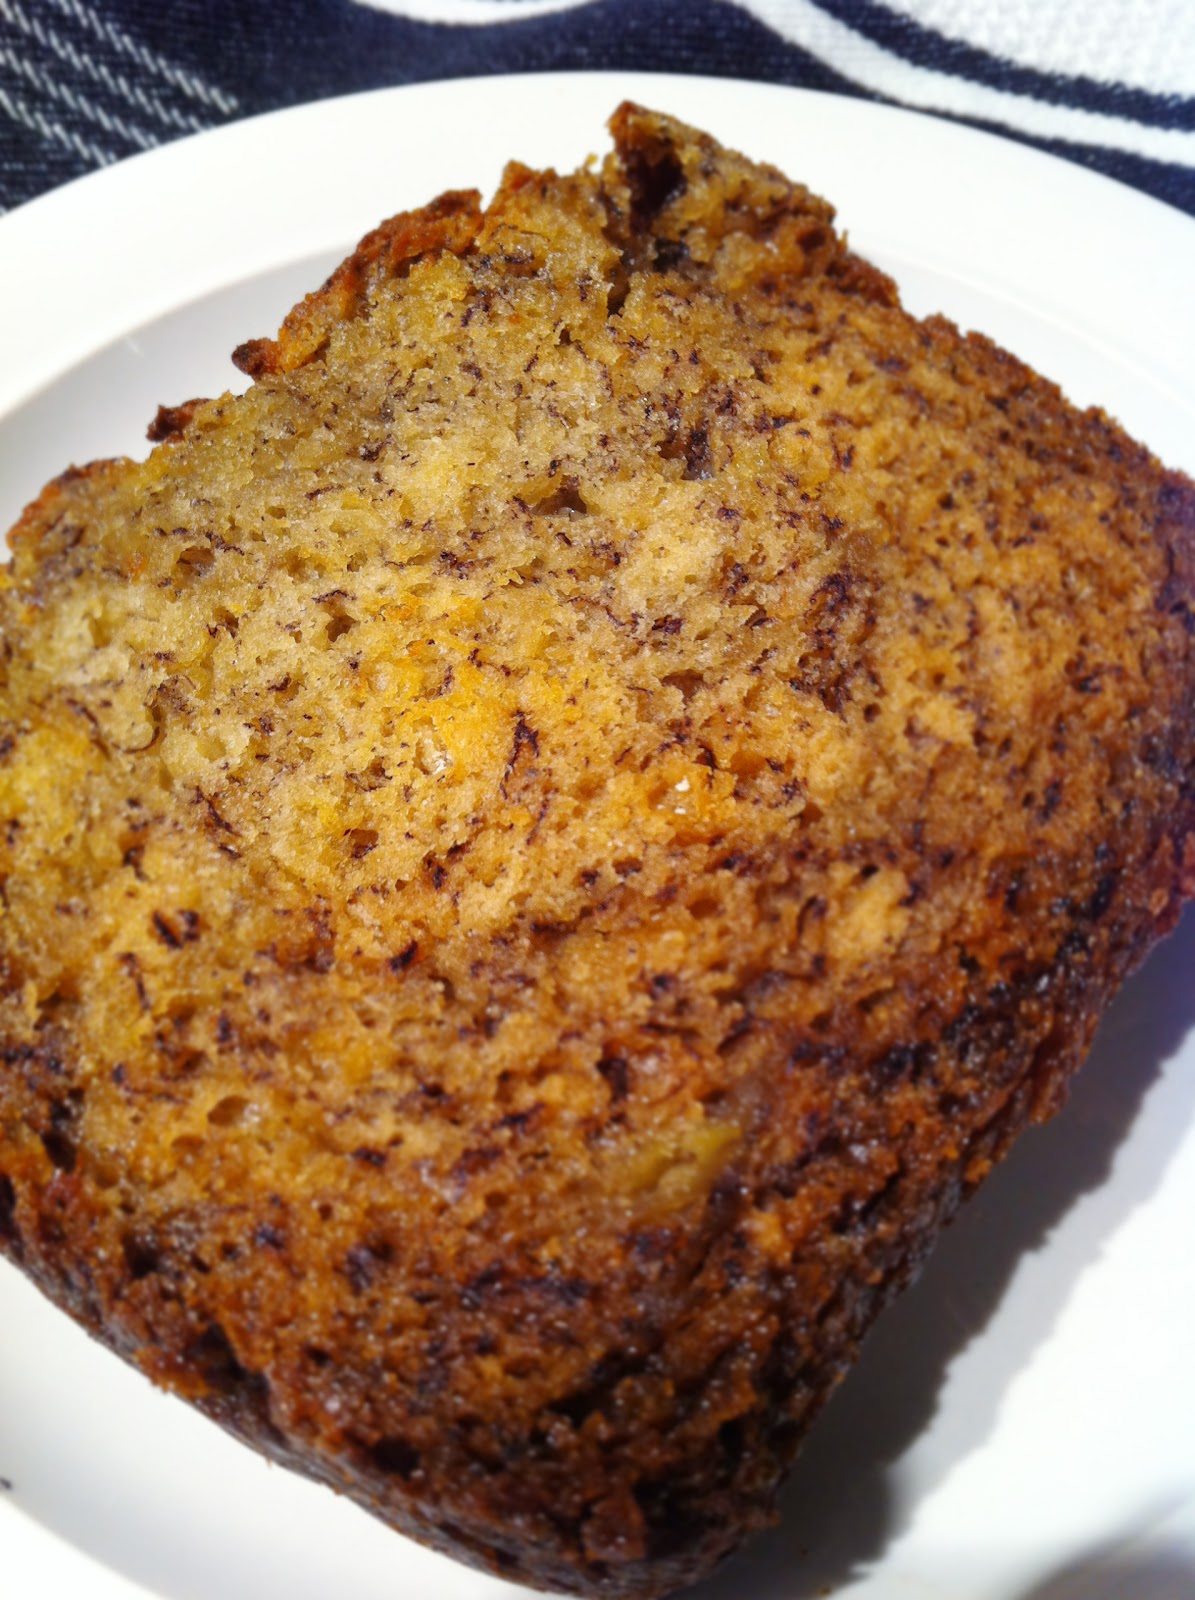
One of the dreamiest smells in the world is banana bread—baking in the oven. Another joy in life is eating this warm, aromatic bread right out of the oven. I've tried a lot of banana bread recipes over the years, and whenever I try a new one, in the back of my mind, I think about re-visiting this one. I remember how crispy the edges were, and how dense and moist the center was. I tried this again without any nuts, and used two ripe bananas from the counter, and ripe bananas from the freezer. (Remember how we learned from this Ultimate Banana Bread recipe that when you thaw them out, you get some awesome juices that add a lot of flavor?) So, the results are: I seriously LOVE this bread. The texture is seriously perfect. Even the next day, when most banana breads get sort of slimy on the edges, this still has crispiness, but still so... you know... moist on the inside. Also, I mentioned this before, but toasting day old banana bread before eating it is incredible.

Here is the recipe again:


2 cups all-purpose flour

1 1/2 teaspoons baking soda
1/2 teaspoon salt
4 overripe bananas (two of them frozen and thawed)
1 cup sugar
3/4 cup (1 1/2 sticks) unsalted butter, melted and cooled
2 large eggs
1 teaspoon pure vanilla extract
Preheat oven to 350 degrees F and lightly grease a 9 by 5-inch loaf pan. In a large bowl, combine the flour, baking soda, and salt; set aside. Mash 2 of the bananas with a fork in a small bowl so they still have a bit of texture. With an electric mixer fitted with a wire whisk, whip the remaining bananas and sugar together for a good 3 minutes; you want a light and fluffy banana cream. Add the melted butter, eggs, and vanilla; beat well and scrape down the sides of the bowl. Mix in the dry ingredients just until incorporated; no need to overly blend. Fold in the nuts and the mashed bananas with a rubber spatula. Pour the batter into the prepared loaf pan. Give the pan a good rap on the counter to get any air bubbles out. Bake for about 1 hour and 15 minutes, until golden brown and a toothpick inserted into the center of the loaf comes out clean. Don't get nervous if the banana bread develops a crack down the center of the loaf; that's no mistake, it's typical. Rotate the pan periodically to ensure even browning. Cool the bread in the pan for 10 minutes or so, and then turn out onto a wire rack to cool completely before slicing.
Note: The top of my bread was getting too brown, so I placed a piece of foil on top after about 45-50 minutes.

Tuesday, January 31, 2012

chocolate peanut butter bars


I saw the recipe for Peanut Butter Mud Bars on one of my favorite food blogs, Bake or Break, and I couldn't get the idea of eating these out of my head. Sometimes these things happen, and when I'm in the throws of a craving like this, I cannot be stopped. Even if I am missing some of the starring ingredients. I'm on a mission, and I need chocolate peanut butter bars, post haste. So, I just go for it, swapping and substituting till I try my new concoction, with fingers crossed. Sometimes things turn out great, like my cherished Peanut Butter Banana Chocolate Chip Cake (if you haven't made this yet, seriously just go and do it now—it's insane), and sometimes things do not turn out in my favor. Which is obviously not documented, and I try to erase The Mistake from my memory. This experiment turned out pretty good, not as epic as Pumpkin Bread Pudding, but I kept going back for seconds, so that's a pretty good sign, wouldn't you say?

Chocolate Peanut Butter Bars (heavily adapted from Peanut Butter Mud Bars via Bake or Break—recipe originally from The Buttercup Bake Shop Cookbook)

1 cup all-purpose flour
1/2 teaspoon baking soda
1/4 teaspoon salt
1/4 cup cocoa (I might even try more next time)
1/2 cup unsalted butter, softened
1 cup firmly packed light brown sugar
3/4 cup creamy peanut butter
1 large egg, at room temperature
1 teaspoon vanilla extract
1 cup chocolate chips (might try more of these, as well)

Frosting:
1/3 cup chocolate chips
1/3 cup peanut butter
2 tbs. sifted powdered sugar.

Preheat oven to 325°. Grease and lightly flour a 9″x 13″ baking pan.

Whisk together flour, baking soda, salt and cocoa. Set aside.

Using an electric mixer on low speed, beat butter and brown sugar until fluffy (about 2-3 minutes). Add peanut butter and beat well. Mix in egg and vanilla.

Gradually add dry ingredients and mix well. Stir in chocolate chips.

Spread mixture evenly into prepared pan. Bake 25-30 minutes, or until tester comes out clean.

While base is baking, combine the chocolate chips, peanut buter and powdered sugar in a small saucepan and cook on low until melted and evenly incorporated. Turn off heat once melted, but keep mixture on stove (the heat from the oven will keep the mixture warm).

Remove from oven, let cool for 20-30 minutes, then top with frosting. Let cool at least 30 minutes before eating.

Tuesday, January 24, 2012

sourdough bread: guest post by 2.0

I've discusses my sister-in-law quite a bit, and she's pretty much the best sister-in-law of all time. Sorry everybody else, my sisters' and I won the jackpot in the "Who Is My Only Brother Going To Marry, Please Just Let Me At Least Like Her A Little Bit Jackpot". She's one of my best friends, and she's totally down for food like the rest of us. It's so fun to share with her our favorites, and trying some of her family favorites as well. Remember the Oatmeal Cake? I do, because it's the dreamiest (...aaaand now I'm craving it, this is trouble...). Anyway, I've spoken to my sisters about each of them doing a guest post for me, since they've all got mad skills(z) and so many great recipes to share. When I was visiting in November, 2.0 made this sourdough bread that she's spent a while perfecting. It is NO JOKE. Sooooo good. I asked her to share it with us, but she said she had a few more tweaks to make, so she recently fulfilled her promise to me, and below is her post to share with us. So, without further ado, I'd like to introduce Caroline 2.0...

I would look so different if I didn't love bread as much as I do. There is something almost spiritual for me in eating the perfect artisan bread, the chewy crumb, the contrast between the crust and the melty insides, the way your jaw tells you about it if you eat too much. I'm talking about bread that has the gal and personality to make it's own shape and not rely on a bread pan to keep it corralled. I grew up right up the street from a little market that had incredible, made that day, Italian and French breads that were central to most of my meals. I also had a Father who was the proud bread-maker of our family. He loved the feeling of his hands in the dough and it was common to find crusty little remnants on his wrists or under his nails. Okay, I'll stop it with all my bread pedigree, all you need to know is that this recipe comes to you from someone who really truly loves bread and it's taken me lots of tries to get it to this wonderful place. Also note that you might need to mess with this recipe a little. I've found that often a bread recipe needs to adjusted because of humidity, flour you're using, your particular oven, the yeast you have etc. There are a lot of variable factors, so try this then make whatever tweaks are necessary to make it magical for you. 

Caroline (2.0)'s Sourdough Bread:

Ingredients: 
Dutch Oven or something you can put in the oven with a heavy lid on it. This is what I use, but if you have another version that's fine too - you need to trap the moisture in with the bread. Also, you need to replace the plastic lid handle with a metal one - I got one at home depot- it was pretty easy - if need be, just take the handle out and be really careful with the lid. 
2 cups water (warm to 110)
2 tsp yeast (no rapid rise, and don't use more, less would be better)
1 cup sourdough start (I used a heaping cup, this can vary a little too)
2 TBS sugar
1 heaping TBS salt
6 cups flour (this one will vary for sure - it's a feel thing, but around 6)


 (2.0's sourdough start—do not throw away)

1. Put the water into a large bowl with the yeast. Let the yeast dissolve, about 3-5 minutes and add to this your sourdough start, sugar and salt - stir with a wooden spoon to dissolve.


2. Add flour only a cup at a time - I insist on this - it's the only way to get to the right texture, if you add to much and try to put water in it's a mess. Just go one cup at at time, stirring with spoon, until it's not possible to stir with a spoon and then take off your rings and get your hands in there. Keep adding flour a cup at at time until the dough is starting to come together in one lump. You will need to do some kneading, and as you knead your bread will get wetter. Of course you'll need to add more flour as you knead in small amounts so you can handle the dough, but don't add to much. Put flour on your hands and although many say to knead on a floured surface, I think it's okay to knead in the bowl, then you pick up all your scraps. Just make sure your dough is still a little wet, so it's sticky but not completely stuck to you as you knead. You should knead about 8-10 minutes until it's smooth and elastic with a little sticky to the touch.


3. I usually pull my ball of bread dough out, put it on plastic wrap and scrape around my big bowl with a spatula getting the flotsom and jetsom out then I spray that same bowl, plop my dough back in and turn it around once so it has some oil on top. Make sure to cover the top with plastic wrap.


4. Let this rise overnight or 6-8 hours then pat it down, and give it a good knead - like 5 minutes of just working out the air and getting it back into a smaller ball - you might need to put it on a floured surface for this part - and coat your hands with flour to make it manageable.
5. Spray your bowl again, put the dough back in, flip it and put plastic on top again. Let this one rise a good 4 hours or so until it's doubled in size. The two rises are what give this bread such a nice sourdough flavor. While this is rising spray down your dutch over with lid - it's the only way to make this bread work.
6. When your bread dough has doubled, push it down and knead it out a little, not as much as before and shape it into two loaves. You can do this in one big loaf but I find two a lot more manageable. The way I put these in my dutch oven is by separating them down the middle with aluminum foil - which I also spray. You can put down a little cornmeal on bottom if you wish. Put these two oval loaves into your dutch oven.
7. Put plastic over the top of the dutch oven and let the bread rise about 2 hours or less - until the loaves look nice and raised. Pre-heat oven to 450 during this time.


8. Take off the plastic, put on the lid and put your bread in the oven for about 40 minutes.


9. After 40 minutes take off the lid- your bread should be starting to get light brown and look shiny. Keep the lid off - reduce heat to 375 and bake another 10 + minutes until it's nice and brown and when you check the center by checking halfway down the foil it doesn't look doughy - it needs to give you a little push back when you press in that center area between the two loaves.
10. Immediately take bread out of dutch oven and cool on wire racks.

Tuesday, January 17, 2012

vacation: re-visited

It's time for my obligatory Christmas vacation trip re-cap. Of course, the food was incredible, and amazing and was one of the main focuses of my trip. I'm going to post all the photos and names below. If you guys want any of the recipes that aren't linked, let me know which ones, and I'll try to coax them from my Mom. The only one I know for sure that she won't give up is the Special Christmas Torte She Holds Sacred So Don't Even Ask. (All the photos taken by my phone, mostly with Instagram.)

Whole Wheat Waffles with fruit and yogurt and a sauce from the Clinton Street Baking Company cookbook (which I covet greatly - remember how I ate there in New York?). 

 Citrus Wassail (recipe here)

My adorable Mom writes out a menu for the time that I'm home.  

Winter Fruit Salad with Pomegranates (recipe here

Butterhorn Dinner Rolls (recipe here

Roasted Beets 

 Pork Tenderloin with Apricot Compote

Special Christmas Torte She Holds Sacred So Don't Even Ask 

The best Eggs Benedict In The World, made by my Mom. 

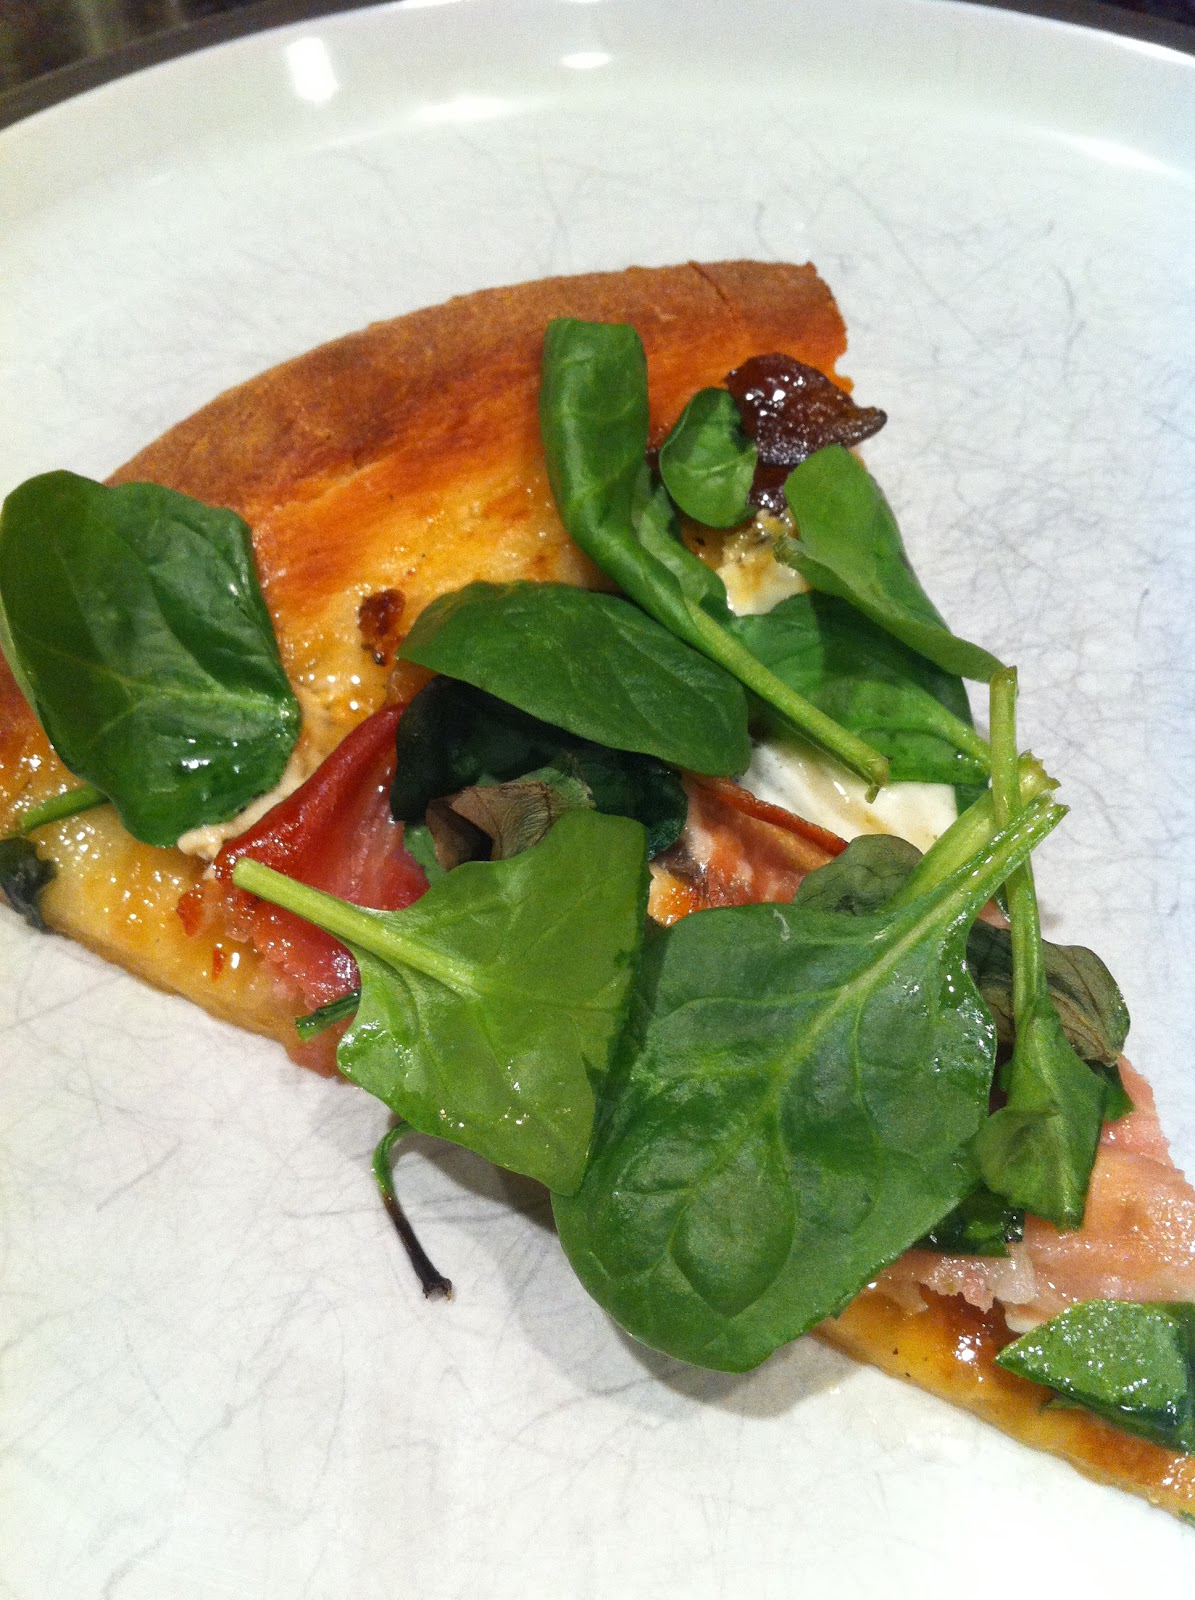
Fig Prosciutto Pizza with Spinach, adapted from this recipe 

Prosciutto wrapped Water Chestnuts

Chocolate Dipped Salted Caramels with Fluer De Sel, adapted from this recipe

Apple Pan Dore. Recipe adapted from Mama's Cafe 

Fancy Hot Chocolate. (You whip cream with cocoa and chocolate syrup then put in in warm milk then drink it!)

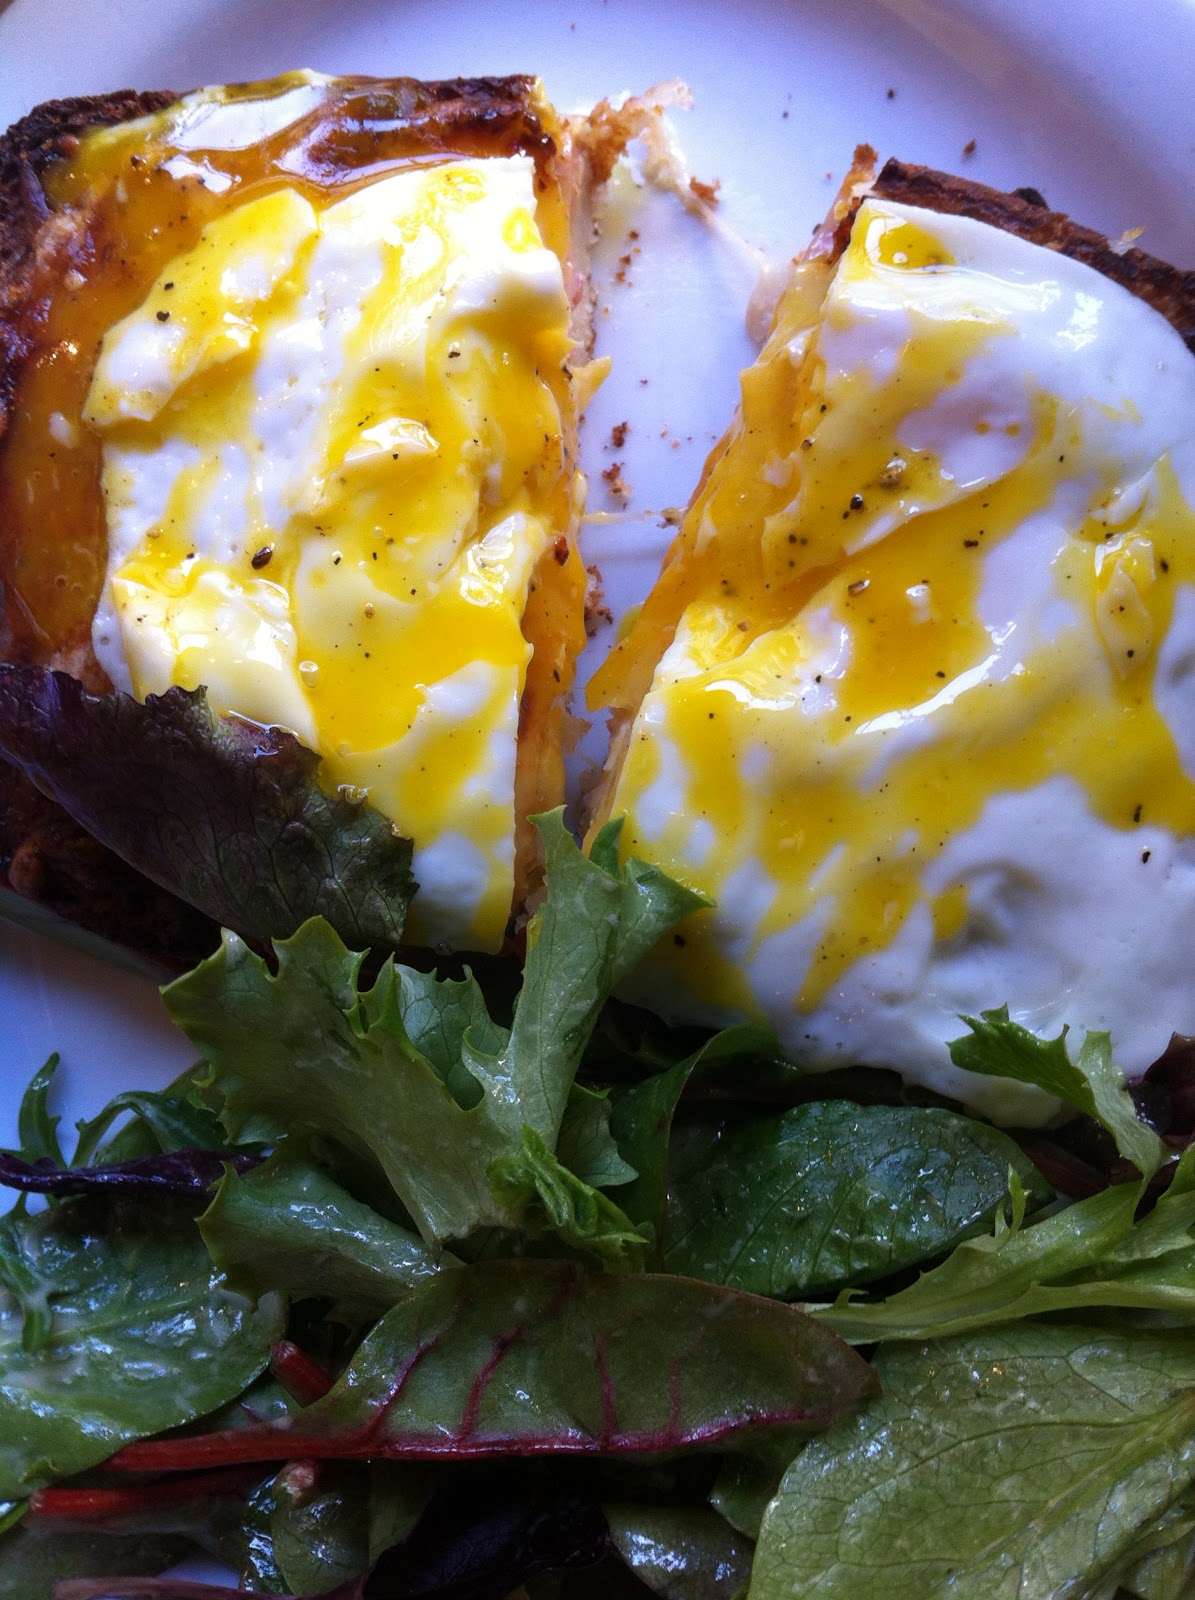
One of my favorite things to eat of all time. Croque Madame from Cafe De La Presse in San Francisco.

Chocolate Malted Crunch Ice Cream from Thrifty's. (My favorite!) 

Blackberry Cobbler, made by 2.0. Recipe from Joy of Cooking.